
How to Install Ambient Lighting in Your Tesla Model Y
Transform the ambience of your Tesla Model Y with our simple guide to installing ambient lighting. Discover how to enhance your driving experience with LED light strips, making your EV an extension of your personal style.

Jesus Sisco
Isn’t it incredible how the right lighting can set the perfect mood? If you’re looking for a simple and cost-effective mod with your Tesla Model Y, installing ambient lighting might be the perfect solution.
Imagine transforming your Tesla Model Y’s interior to reflect your personality, creating an atmosphere that not only enhances your driving experience but also makes it uniquely yours? Yeah, we like the sound of that too.
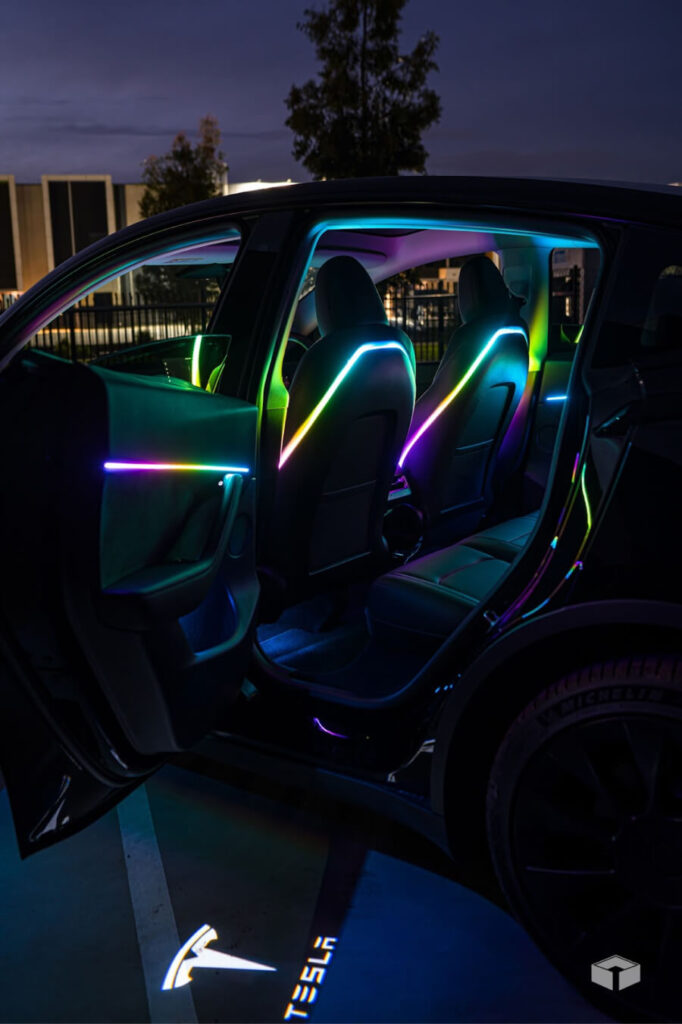
Today, we’re going to dive into the nuts and bolts of installing ambient lighting in your Model Y. It’s pretty simple, and most ambient lighting kits come with comprehensive instructions. But if you need help, it’s always best to reach out to a professional, okay?
6 Steps to Installing Ambient Lighting in Your Tesla Model Y
Step 1: Choose Your Ambient Lighting Kit
Before anything else, the first task is to choose your ambient lighting kit. There’s a whole spectrum out there, from calming blues to bold reds and serene whites. You could even opt for multi-colour kits that let you switch between colours based on your mood or the time of day. When buying your kit, make sure it’s compatible with the Tesla Model Y and comes with all the necessary components: LED strips, connectors, and a controller.
Step 2: Prep Your Vehicle
Now that you’ve got your kit, it’s time to prep your car. Start by cleaning the areas where you’ll be installing the LED strips. This could include the footwells, under the seats, or around the dash. Use a mild cleaning solution to wipe these areas down and let them dry. This ensures that the adhesive on the strips sticks well and stays put.
Step 3: Install the LED Strips
Next, it’s time to peel off the adhesive backing on your LED strips and stick them in your desired locations. When doing this, be mindful not to obstruct any of the car’s functionality (like don’t put the strips on your wheel or rearview mirror! Once the strips are secured, use the connectors to link them to the controller.
Step 4: Connect to Power Source
After securing your LED strips, it’s time to power up. Depending on your kit, you may need to connect the controller to your car’s fuse box, a 12V power source, or even directly into the car’s USB ports. Make sure you follow the manufacturer’s instructions to avoid any mishaps.
Step 5: Test Your Lights
Before you start reassembling your car’s interior, take a moment to test your lights. This will allow you to address any potential issues before everything is sealed up. With your car powered on, use the controller or smartphone app (if your kit includes one) to switch on the lights and run through all the colours and settings.
Step 6: Tidy Up
If everything is working as it should, your last task is to tidy up. Secure any loose wires with cable ties and tuck them out of sight. If needed, replace any components you may have moved or removed during installation.
And there you have it! You’ve successfully installed ambient lighting in your Tesla Model Y. It’s time to bask in the glow of your hard work and enjoy a more personalised driving experience. Remember, safety comes first, so ensure the lights are never a distraction while driving. Now, get out there, hit the road, and illuminate your journeys like never before.
READ MORE
Keep Reading

There are plenty of perks to owning a Tesla, and having the option to integrate a fridge into the Model Y trunk is definitely one of them. We’re particularly keen on the ACOPOWER fridge, My Tesla Accessories fridge, and EVsHome fridge, each for their own reasons. In this piece, we’ll take a closer look at …
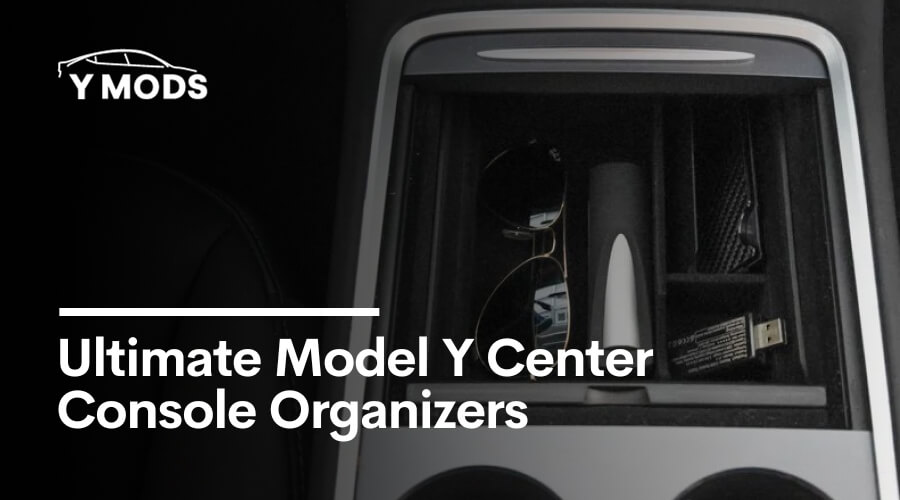
Let’s face it – our cars can sometimes become our second homes. And if you’re a proud owner of a Tesla Model Y, you know how awesome it feels to be behind the wheel of this sleek and eco-friendly machine. But there’s one thing that can spoil the vibe – a disorganized centre console. Luckily, …
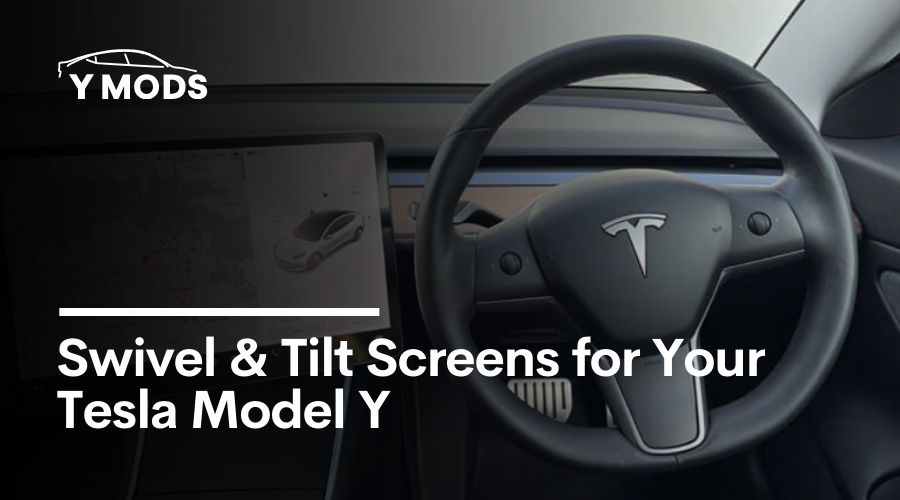
Ever find yourself thinking, “Hmm, I wish I could tweak this screen a bit to get a better view?” Well, guess what? You totally can! We know your Model Y is already pretty fantastic, but there’s a simple way to make your drives even better. We’re talking swivel and tilt screens – a small tweak …